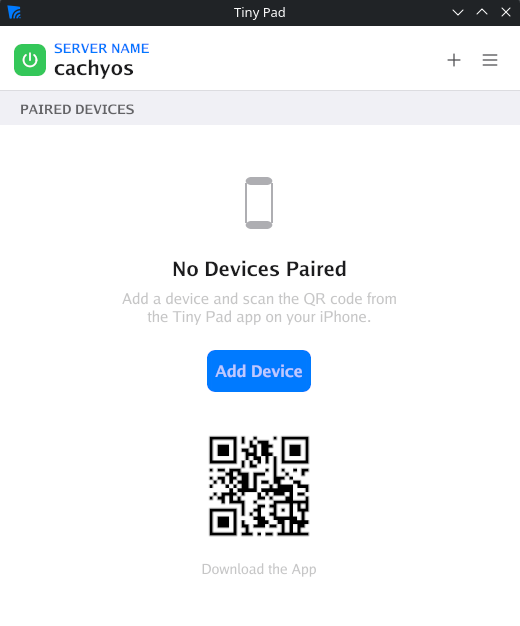
Tiny Pad for CachyOS is published as a pacman package (.pkg.tar.zst) in the Tiny Pad repository. Add the repository once and pacman installs it and every later release, the same way it handles the rest of your system.
Add the Tiny Pad repository
The recommended way. Three commands, and updates arrive on their own afterwards.
Trust the signing key
Import the Tiny Pad key into pacman’s keyring and sign it locally, which is what tells pacman to trust it:
Add the repository
Append the repository to /etc/pacman.conf:
Install Tiny Pad
Refresh the package databases and install:
sudo pacman -Syu. Every package and every index is signed, and pacman refuses anything that does not verify.Start Tiny Pad
Launch the server from the terminal, or find Tiny Pad Server in your applications menu:
Install a single release by hand
Use this if you would rather not add a repository. It installs one release and nothing more: Tiny Pad will not update itself, so you repeat these steps for each new version. Prefer to point and click? CachyOS ships Octopi, a graphical package manager. Use its File → Install local package… action. Double-clicking the package only opens the archive manager, so install it through Octopi instead.
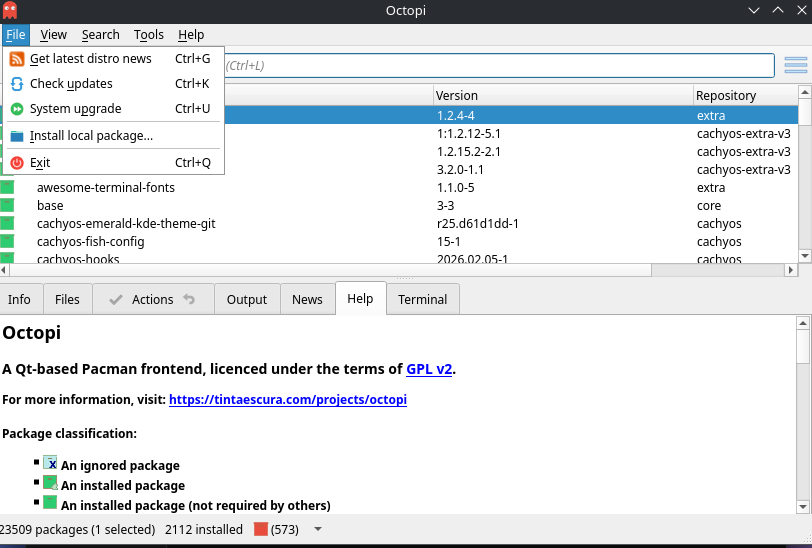
Open Octopi and choose Install local package
Launch Octopi from your applications menu. Open the File menu and click Install local package….
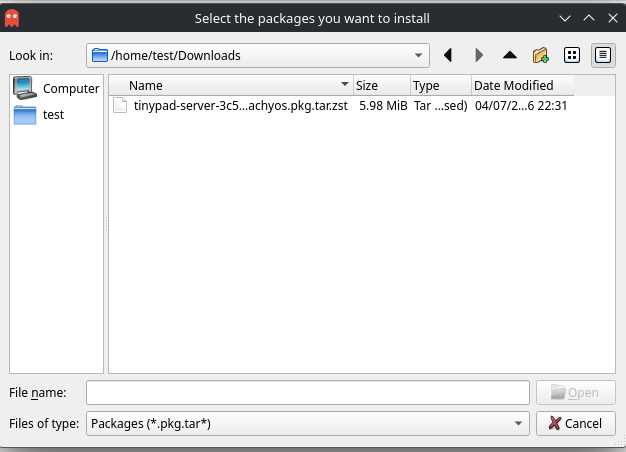
Select the downloaded package
In the file picker, go to your Downloads folder and double-click the Tiny Pad .pkg.tar.zst you downloaded.
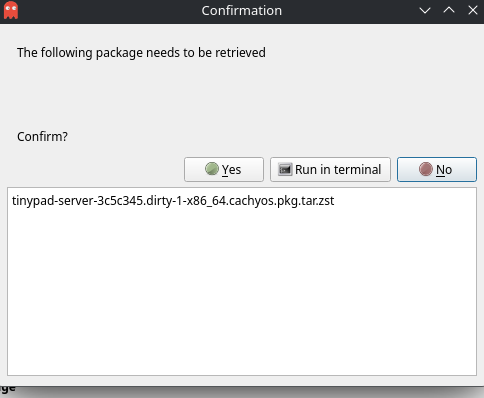
Confirm the installation
Octopi lists the package to be installed. Click Yes to continue.
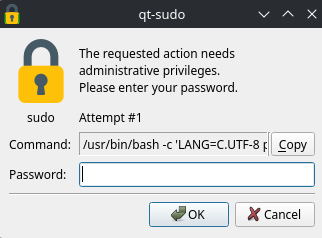
Authenticate
Enter your password to authorize the installation, then click OK. Octopi installs the package and reports Command finished OK! when done.
Start Tiny Pad
Launch Tiny Pad Server from your applications menu. Click Add Device to pair your iPhone.