Download Tiny Pad
This link always points at the newest release. It is a universal build, for both Apple silicon and Intel Macs:
Drag it to Applications
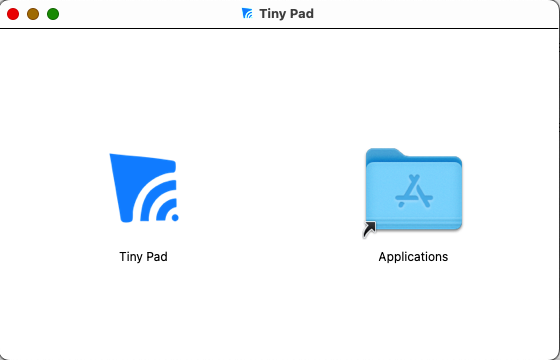
Open the downloaded .dmg. Drag Tiny Pad onto the Applications folder beside it, then eject the disk image.
Open Tiny Pad
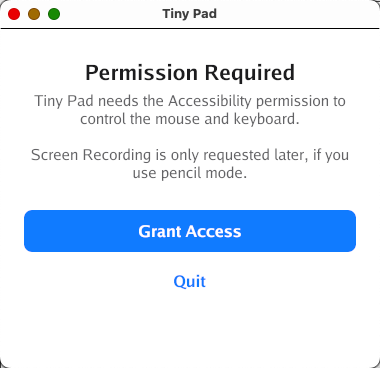
Open Tiny Pad from your Applications folder. The first time it runs, it explains what it needs. Click Grant Access.
Let macOS take you to the setting
macOS asks to confirm. Click Open System Settings, which opens the right page for you.
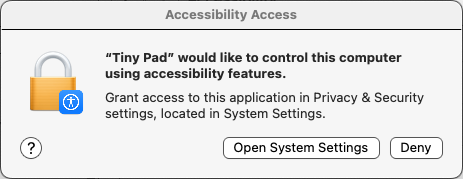
If you miss this dialog, you can get to the same place by hand: System Settings › Privacy & Security › Accessibility.
Turn Tiny Pad on
Find Tiny Pad in the list. The switch starts off:

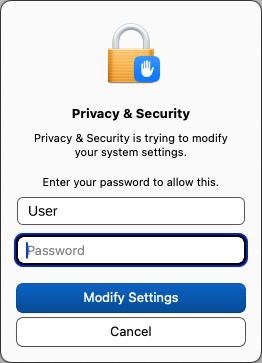
Click the switch. macOS asks for your Mac password, because this changes a system setting. Type it and click Modify Settings.
The switch is now on. That is the whole permission:

Start Tiny Pad again
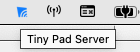
Quit Tiny Pad and open it again, so it picks up the permission you just gave. It does not open a window: it lives in the menu bar, at the top right of your screen.
Pair your iPad or iPhone
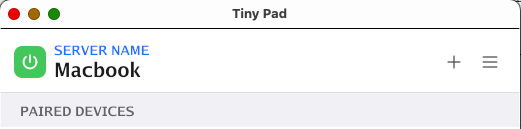
Click the menu bar icon to open Tiny Pad, then click + to show a pairing code. Scan it with the Tiny Pad app on your iPad or iPhone. Both have to be on the same network.
One more permission, only for pencil mode
Pencil mode shows your Mac screen on the iPad, so it needs Screen Recording as well. Tiny Pad asks for it the first time you use pencil mode, and not before. Grant it the same way: System Settings › Privacy & Security › Screen Recording, switch Tiny Pad on, then start Tiny Pad again.