Tiny Pad for Windows ships as a standard setup wizard (TinyPad-<version>.windows-setup.exe). Download it once, then follow the wizard below. It installs the server and the pen-tablet driver, adds a Tiny Pad Start Menu shortcut, and allows Tiny Pad through Windows Firewall. An optional silent install for advanced users is shown at the end.
Method 1: Setup wizard (recommended)
Point and click. Tiny Pad installs into your own user folder, so Setup does not need administrator rights. Windows asks for permission once, near the end, to install the pen-tablet driver, and only the first time. Later updates never ask.
Download the installer
This link always points at the newest release. Save it to your Downloads folder:
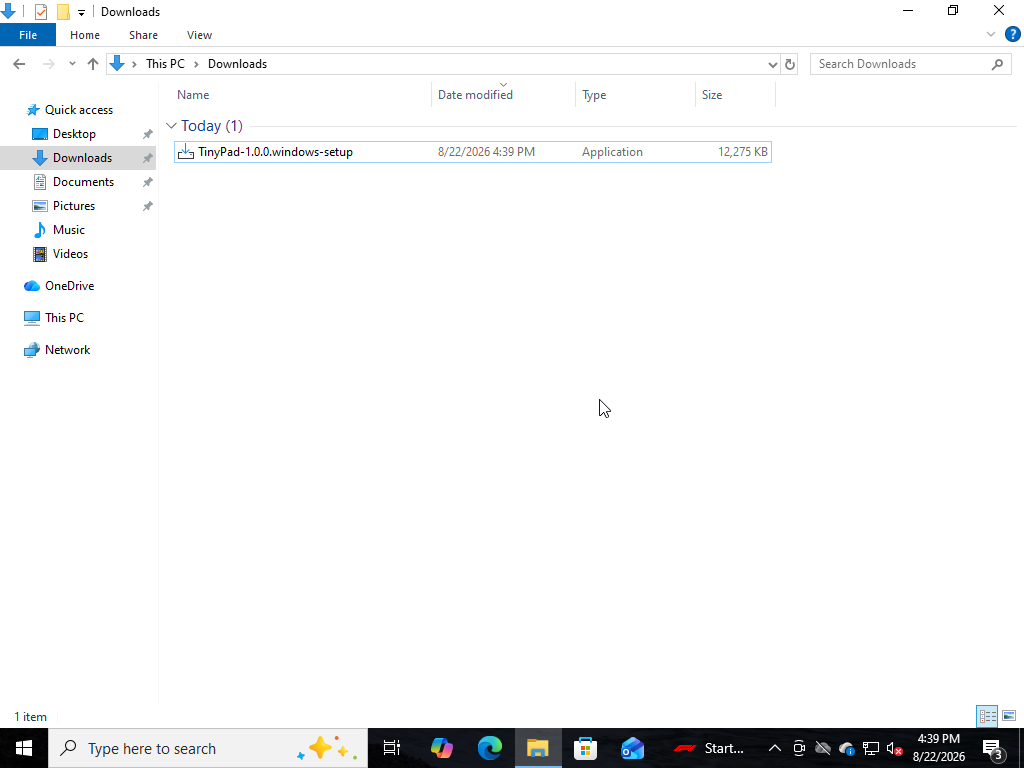
Open it, then click “More info”
Double-click the downloaded file. Because it is a new app, Microsoft Defender SmartScreen blocks it with “Windows protected your PC”. Click More info.
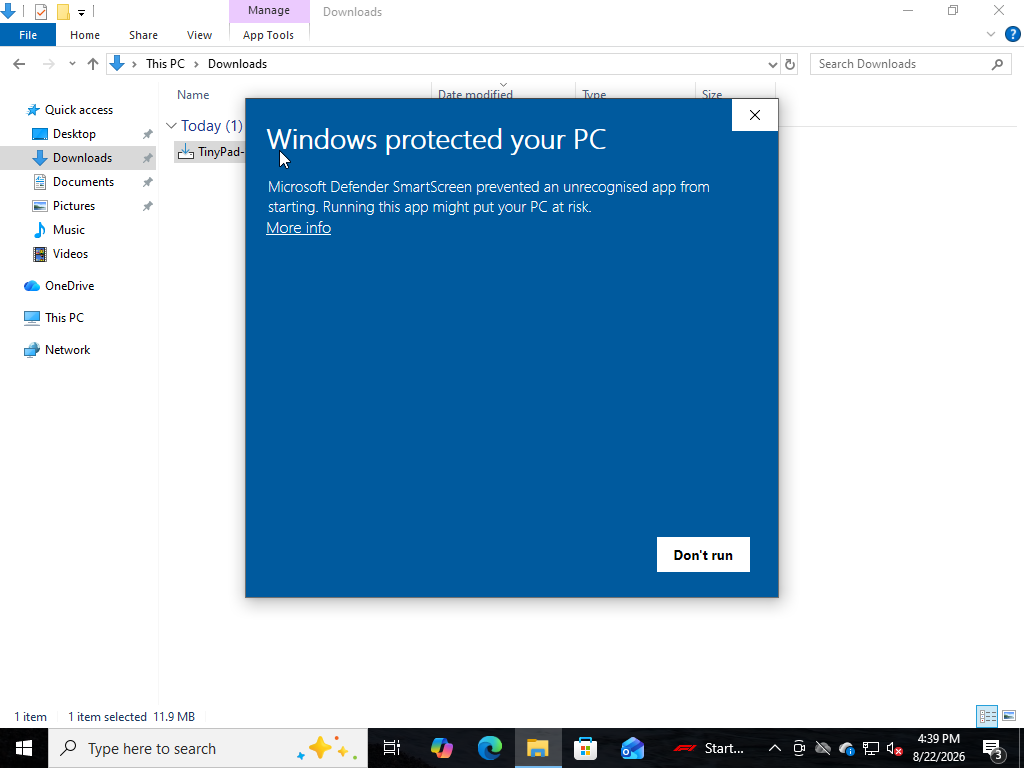
Click “Run anyway”
SmartScreen expands to show the app name and publisher. Click Run anyway to continue.
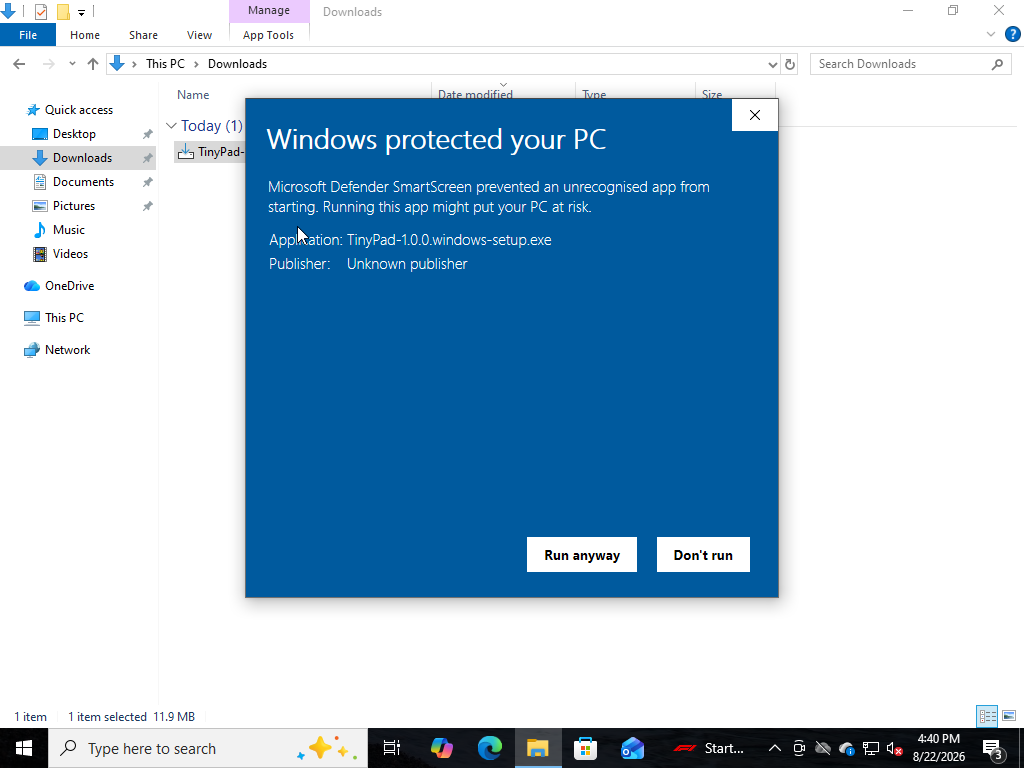
Choose who it is for
Setup asks first. Choose Install for me only, which is the default: it puts Tiny Pad in your own user folder, where it can update itself later without asking for administrator rights. Install for all users puts it in C:\Program Files, and every update from then on needs an administrator.
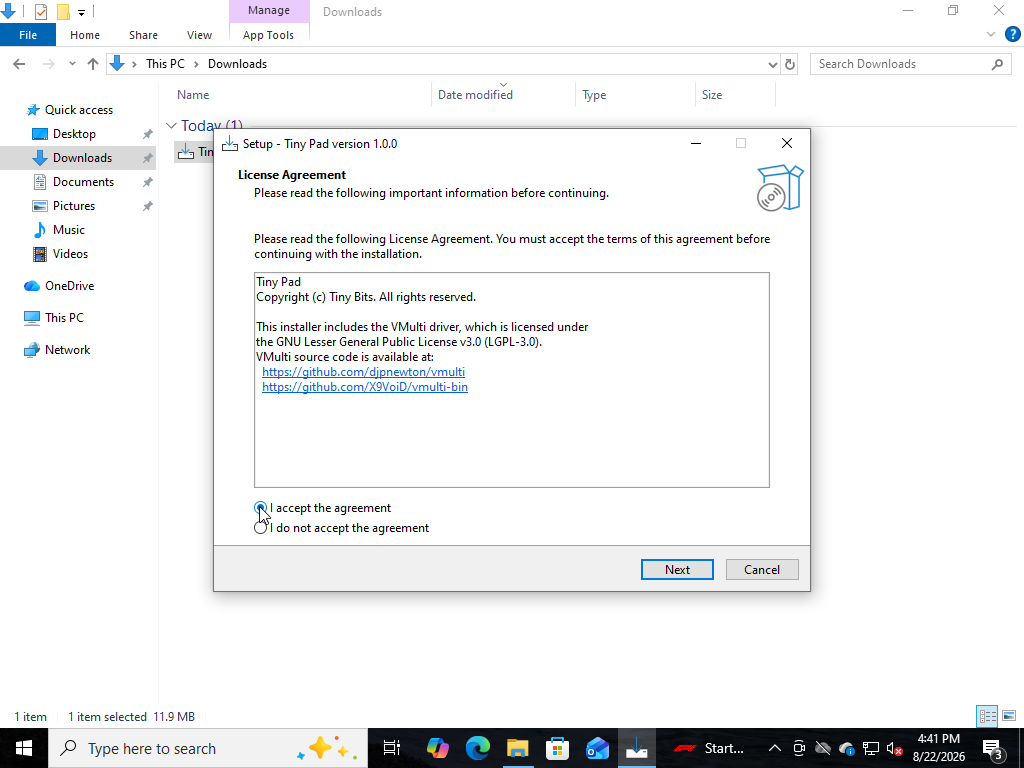
Accept the licence
The setup wizard opens. It bundles the open-source VMulti pen-tablet driver (LGPL-3.0). Choose I accept the agreement and click Next.
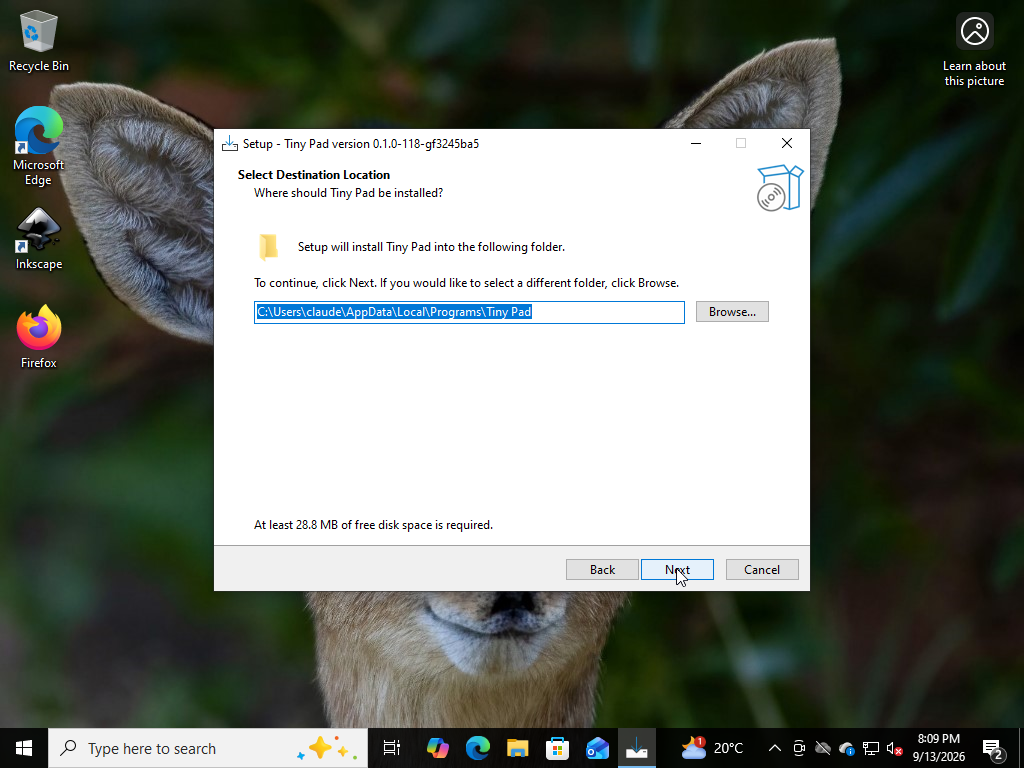
Choose the install location
Tiny Pad installs into your user folder, at %LOCALAPPDATA%\Programs\Tiny Pad. That is what lets it update itself later without asking for administrator rights. Click Next to accept the default, or Browse… to change it.
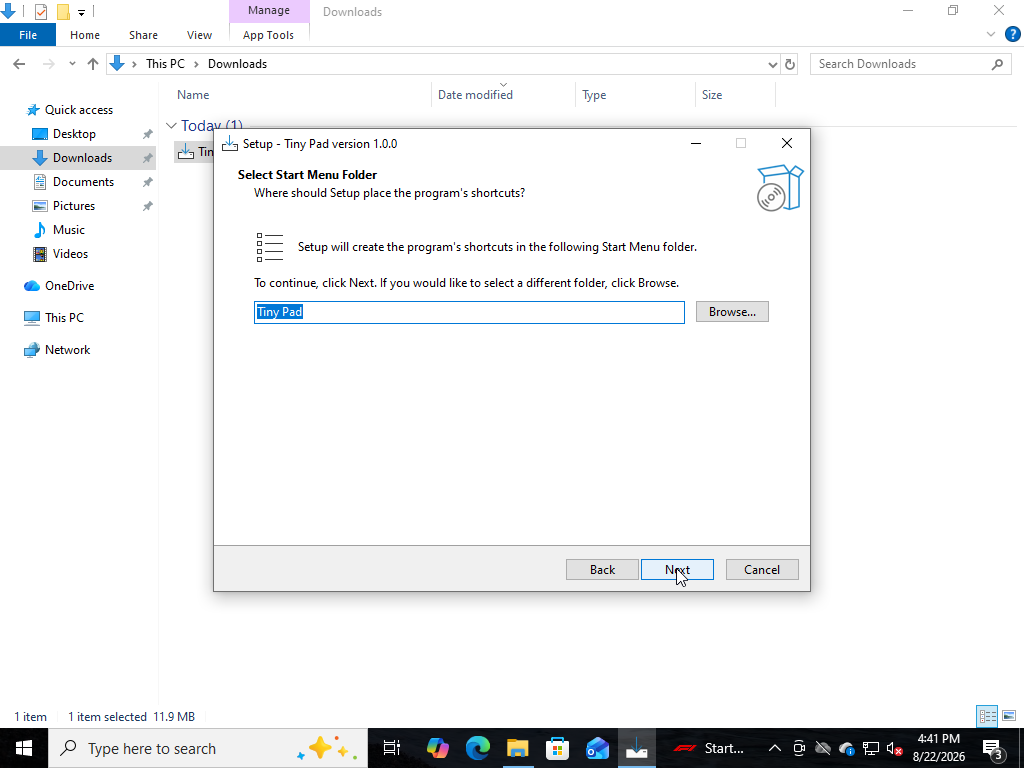
Choose the Start Menu folder
Keep the default Tiny Pad Start Menu group and click Next.
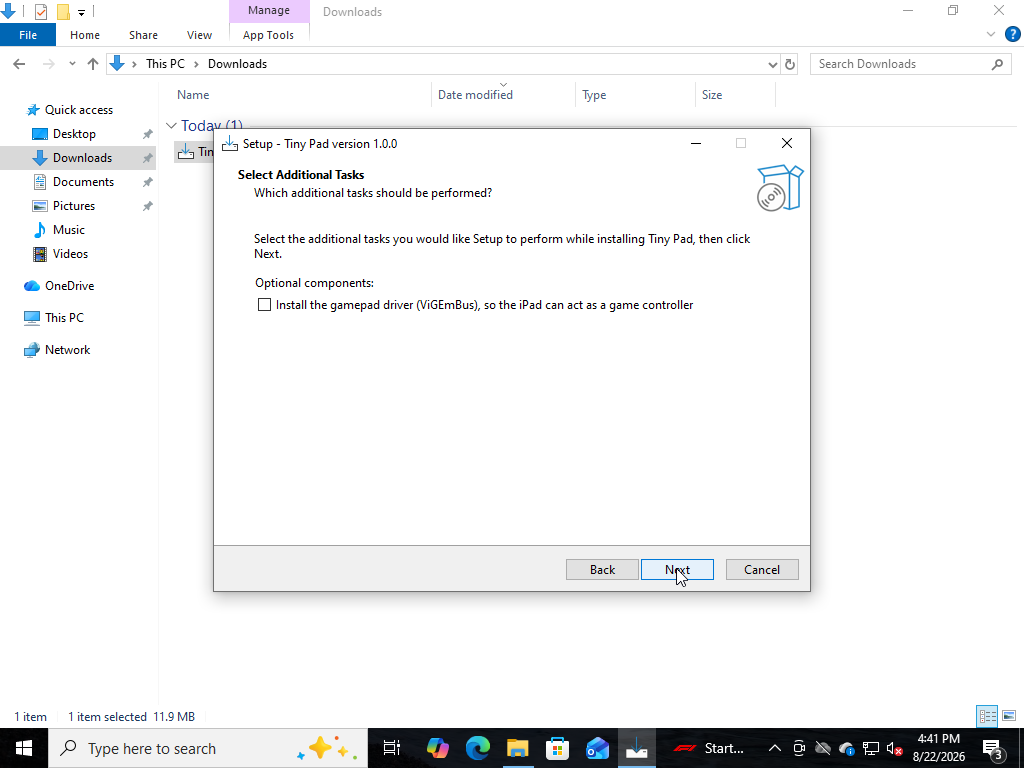
Choose the optional gamepad driver
Setup asks which optional components you want. Install the gamepad driver (ViGEmBus) is only needed to use your iPhone or iPad as a game controller, so it starts unticked. Leave it clear and click Next, or tick it now. You can also add it later, from Tiny Pad, the first time you choose joypad mode.
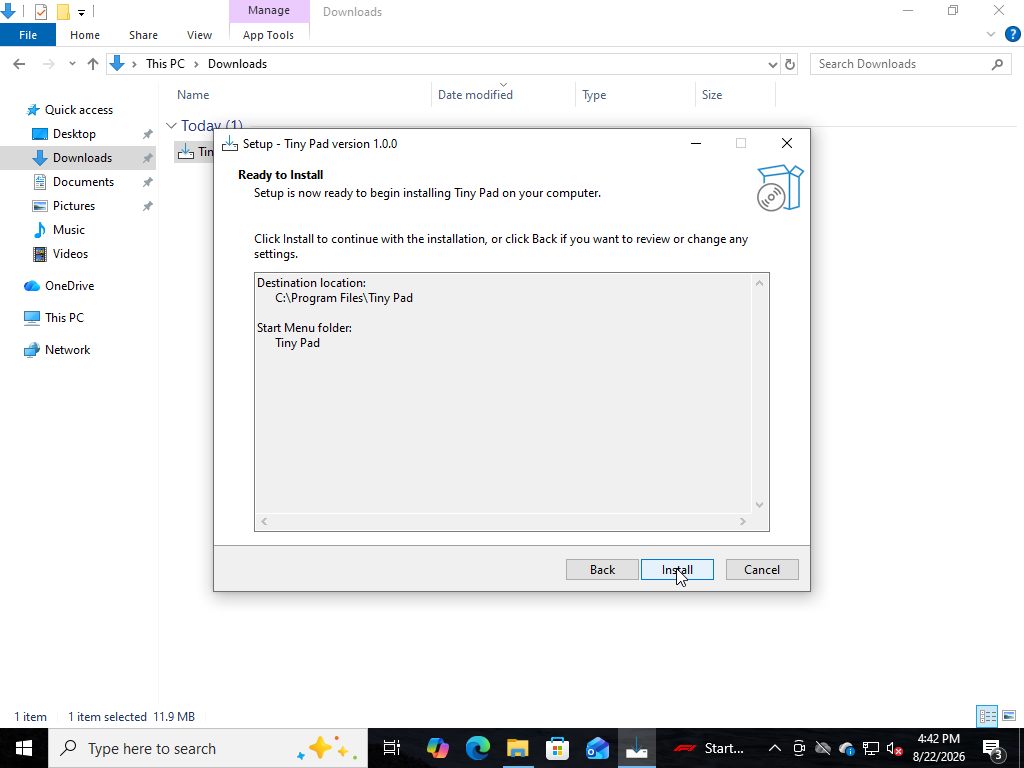
Install
Review the summary and click Install. Setup copies the files, installs the pen-tablet driver, and allows Tiny Pad through Windows Firewall.
Approve the two permission prompts
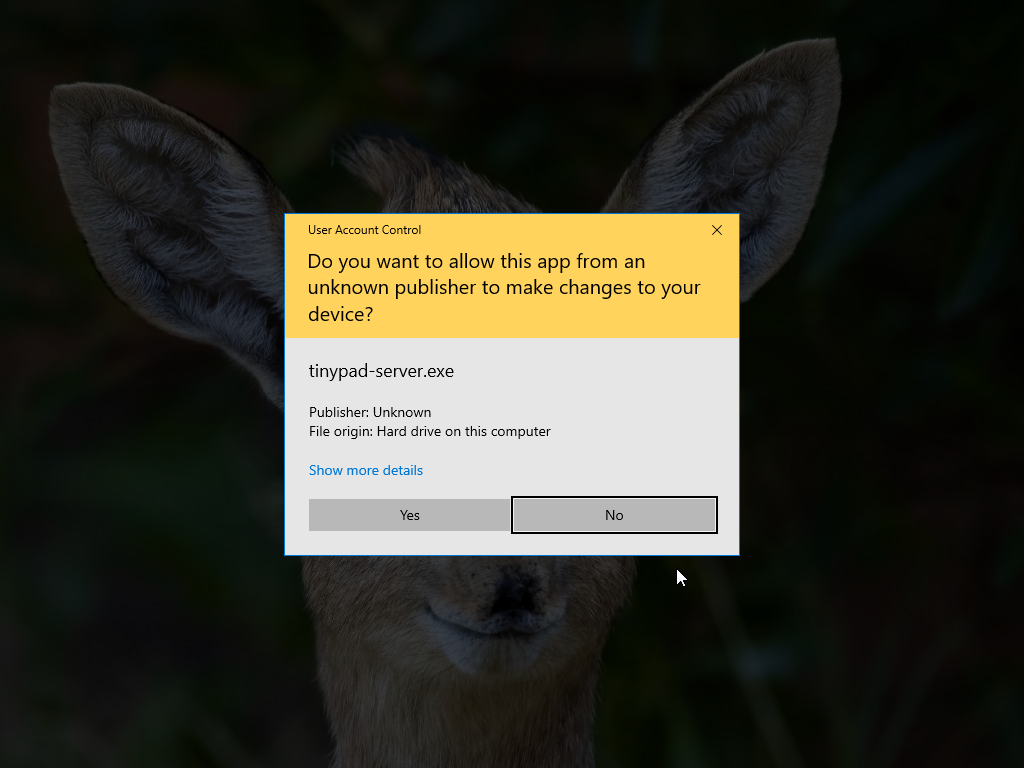
Setup itself needs no administrator, but two of the things it sets up do: the pen-tablet driver, and the Windows Firewall rule that lets your iPad reach this computer. User Account Control asks once for each. Both name tinypad-server.exe rather than the installer, and both say unknown publisher, because Tiny Pad is not yet code-signed. Click Yes to each.
This is a first-install cost, not a recurring one. Tiny Pad checks whether the driver is already there and whether the firewall rule is already right before it asks for anything, so an update that changes neither raises no prompt at all.
Finish and launch
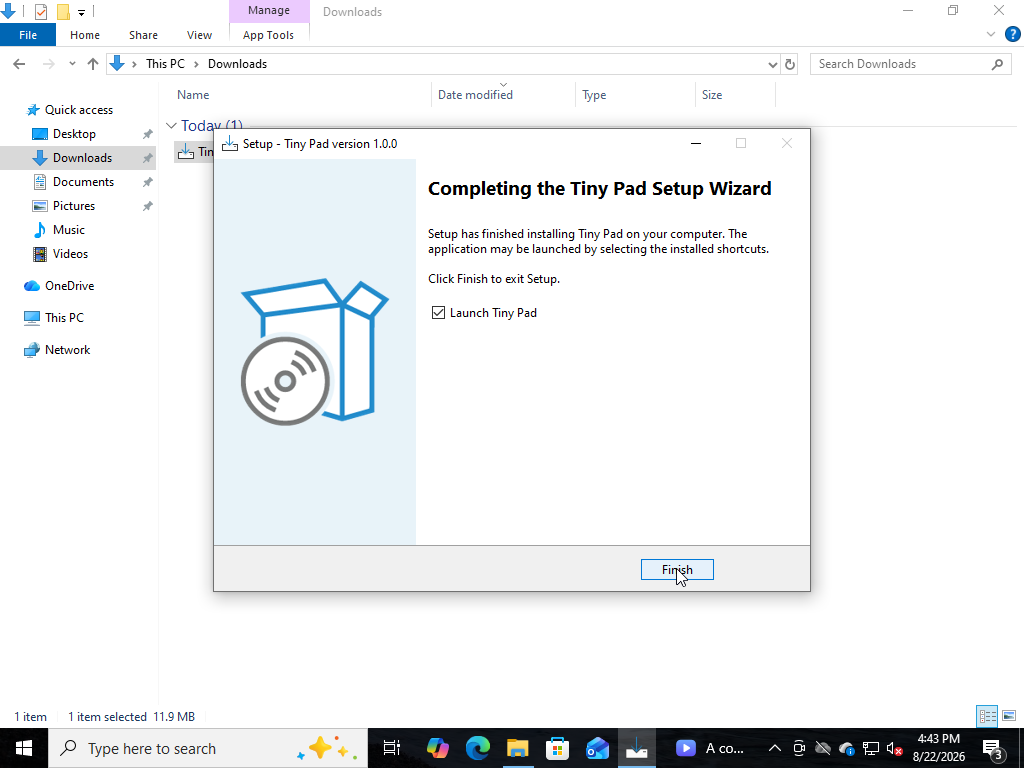
When it’s done, leave Launch Tiny Pad ticked and click Finish.
Open Tiny Pad from the system tray
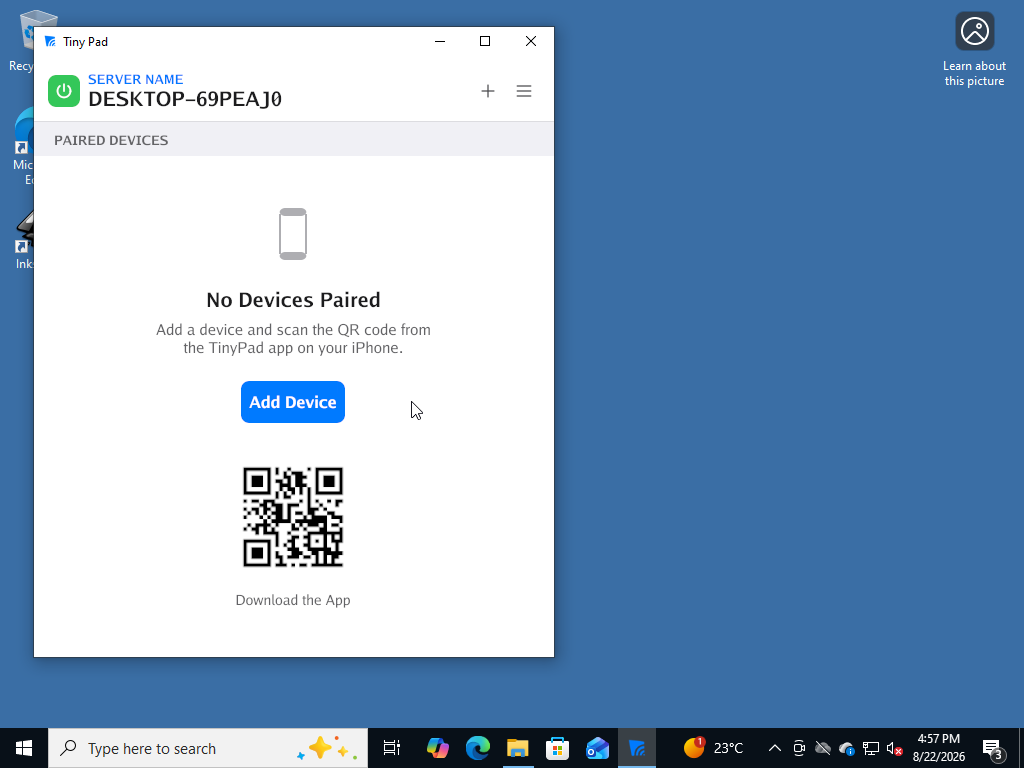
Tiny Pad starts in the system tray. Click the arrow at the right-hand end of the taskbar, then the Tiny Pad icon, to open the window. It shows this computer’s name under Server Name, with a green power button while the server is running.
Pair your iPhone
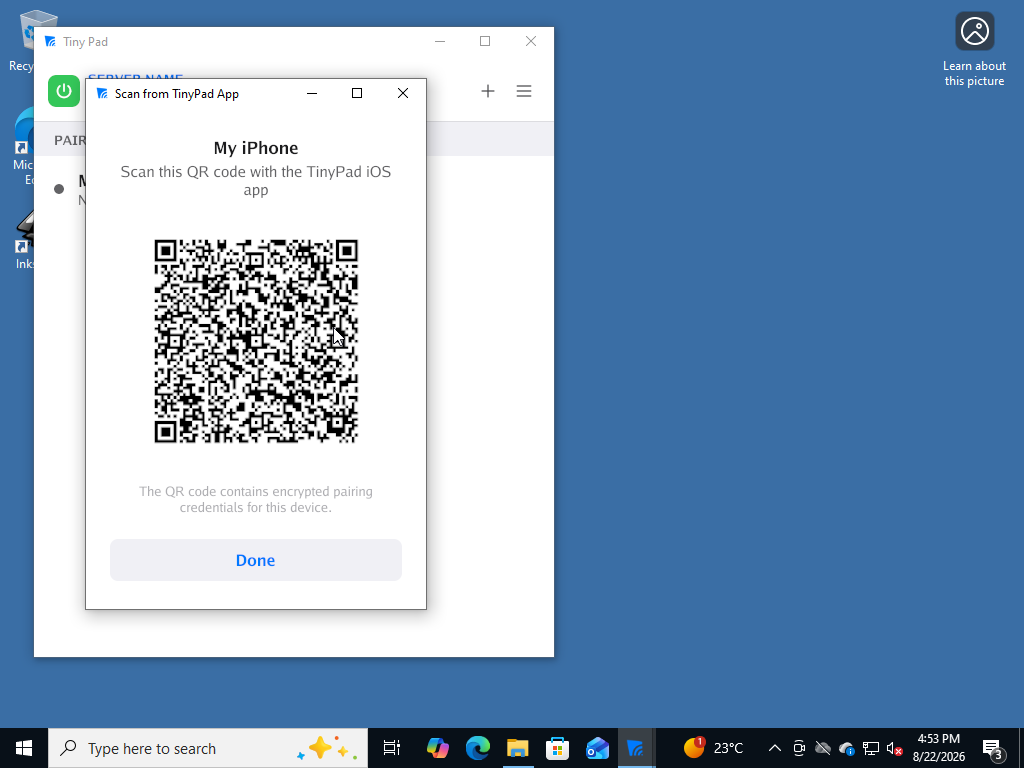
Click Add Device, give the device a name, then click Generate QR. Scan the code with the Tiny Pad app on your iPhone to connect.
Method 2: Silent install (advanced)
Deploying to several machines, or prefer the command line? The installer accepts Inno Setup’s silent switches, and installs per-user without administrator rights. The pen-tablet driver is the one part that still needs them, so it raises a single prompt; run the command from an elevated PowerShell to have it installed without one, or add /SKIPDRIVERS to leave the drivers alone entirely.
Run the installer silently
From the folder containing the download:
/CURRENTUSER is worth keeping even though it is the default: Inno Setup switches to an all-users install whenever the process that started it is already elevated, and an all-users copy cannot update itself without a prompt.Start Tiny Pad
A silent install does not start the app, so launch Tiny Pad from the Start menu. It runs in the system tray; open it and click Add Device to show a pairing code. The firewall rules were written during the install, so there is nothing to allow.